Showing posts with label Jocarste. Show all posts

Tuesday, October 9, 2012

Cath Kidston inspired vintage floral nails tutorial ^_^


Recently my boyfriend bought me a faux Cath Kidston phone case, I really like Cath Kidston designs which are mostly pastel vintage florals. I find them to be sweet looking and feminine. Since I'm in my pastel phase still I decided to make vintage rose nails.

What I used:
Jocarste nail polish in #36 - flesh with peach tones
Light old rose perfume nail polish, (no brand name check the pic above)
Sassy nail art polish in Pink
Caress nail polish in Obsession
Acrylic paints in Titanium White, Viridian and Crimson.
Sponge
Toothpick
Small nail art brush
Top Coat

I first started with a flesh with peach tones nail polish as my base color. Then I sponged in the same color on my entire nail, this will help to make the base to be more opaque too.
I did another layer of sponging on my whole nail using a light old rose pink. The reason I used the sponging technique on the second layer of polish is to create an uneven base for the old rose pink polish. I didn't want the old rose pink to take over the whole nail as I am also sponging it on my entire nail as well.
I hope I'm making sense.... hahaha!
After that I used one coat of fast drying top coat to slightly smoothen the surface then let it dry.


 Using a large sized dotting tool and a dark rose pink polish I made uneven and different sizes of circles. This is really easy to make because it doesn't have to look perfect. The number of dots would depend on the size of your nail bed.


Next use a pink nail polish that is lighter than the dark rose pink but slightly darker than the base color. If you have a good lot of pink nail polish on your stash this would be easy but if you don't you can try mixing the dark rose pink with your base polish to create one. Maybe a 1:2 or 3 ratio, 1 being the dark rose pink.
Using the same dotting tool, make the same uneven circles close or overlapping a little to the dark rose pink. You can place two dots of light pink near a dark one which is what I did in here.
Let it completely dry.


Take a white and red acrylic paint then mix them to make a nice pinkish white. Using a toothpick (because my thinnest and smallest brush is not thin enough) I made small dots and half swirls inside the pink dots, this will be the petals. I learned this technique from CutePolish when she did a video tutorial on Easy Vintage Rose Nail Art.


 This time mixing a green and white acrylic paint to make a light mint green to use for the leaves. This time I used my smallest nail art brush to create small abrupt thin lines around the roses, see my thumb and pointer finger. Using just the green acrylic paint place small dots with your brush where the roses meet the leaves, see my middle finger to my pinky. This would create a contrast to make the roses more visible.
Then let it completely dry again.
Apply top coat so the acrylic paint won't wash off. ^_^


 Voila! 
This is one of the very few free hand nail art I can do with both my right and left hand, haha!

I used three coats of top coat because my top coat's texture dries thin :( but I think if you use Seche Vite one layer would suffice ^_^


This is my faux Cath Kidston case where I got the inspiration from!


A photo collage I made showing my nails, a Cath Kidston theme I got from ifansland.com and my case.  ^_^


Thanks a lot for hanging out here!

Sunday, July 22, 2012

Nail Mail and Nail Polish Haul! ^_^


Yesterday was like Christmas ^_^
First my boyfriend bought me three Bobbie Magnet-ficent Polish Effect (magnetic polish) and the Jocarste Black polish which is my favorite black stamping polish. The other Jocarste polish I bought for myself :)
Then when I got home my nail mail was waiting for me which I quickly grabbed then went directly to my room and opened it. Unfortunately I was called to carry my niece to burp her, as much as I would like to tinker and take pics of my latest nail stuff she was just too cute so she wins! lol ^_^


From L-R: Jocarste 685, Jocarste 654 or 54, Bobbie Magnet-ficent in VI-104, Bobbie Magnet-ficent in GR-203 and Bobbie Magnet-ficent in SI-204


These are the new OB plates, I will be swatching these hopefully I can do it soon.


Heart-shaped glass nail polish bottles for frankening or maybe to put your liquid cuticle remover. Aren't they cute? ^_^


 Silicon stamper head in red and white, I am going to make a review of these ^_^


This is the freebie I got, nail water decals ... pretty ^_^
Everything except for the polishes I bought from MyOnline Shop, which is one of my favorite sellers of nail paraphernalia on Facebook.

So watch out for the reviews I will be making for the stamper head, nail polishes and the plates.

Thanks for hanging out here :)

Monday, June 11, 2012

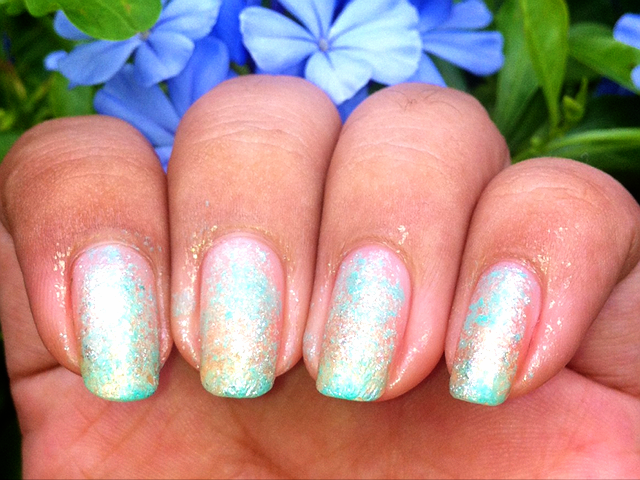
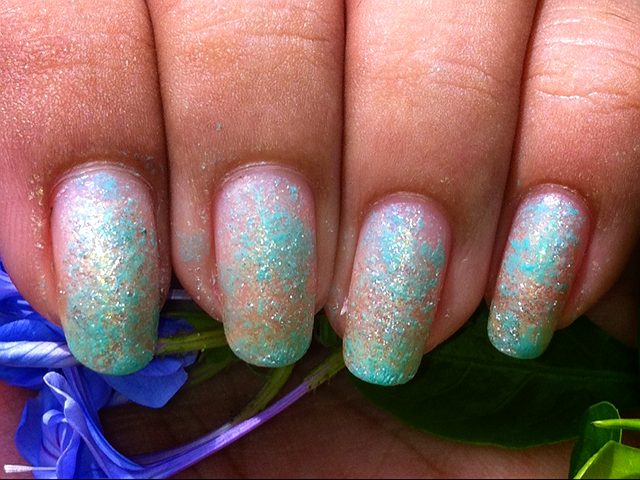
Vintage Curtain Nails


Materials used:
Sponge
Style Essentials nail polish in Gala
Jocarste in 26 (shimmery silver)
Jocarste in 24 (pinky gold)
Stamping polish: Mei Ya in 76 (dark brown)
Stamping plates: BM 21, BM 17 & BM 08
*disregard the BM 20 on the pic I grabbed the wrong plate for this pic ^_^

How to:
First please apply your base coat polish, it could be any brand personally I use Caronia nail hardener and base coat which helps to make my nails stronger and I noticed my nail color don't chip as easily or not at all (but I only keep my nail designs for about 5 days max that is if I really like it.) I haven't used any pricier base coats and I don't think I'll be splurging for that, I prefer to save my moolah for stamping plates ^_^
Okay now for the real how to, hahaha:
Take your sponge, I prefer them cut into small rectangular-square pieces
spread Jocarste in 24 (pinky gold) on the sponge, apply it to your entire nail doing a tapping motion
you can use this one sponge for all your nails
after that use Jocarste in 26 (shimmery silver), same procedure but this time apply it more sparingly you just want a touch of shimmer to your nails
next is Style Essentials in Gala, this time you sponge it at some part of the nails only this color is quite opaque so don't over sponge your nails :)
Now this is going to be your base color:


Let it set and dry before stamping over it, you can choose to place a top coat prior to stamping so the texture would be smoother but I skipped on that since I don't like too many layers on my nails because it'll be a pain to take off ^_^

Just view the finish product on top, this actually made me realize that the first set of Bundle Monster plates which has the full nail designs are too small for my nail bed, it doesn't look obvious here because of the base color. *sigh*

Anyway that's it for my first tutorial, hope I could come up with another one soon ^_^