Saturday, September 29, 2012

Chevron Nails and Nail Polish Haul


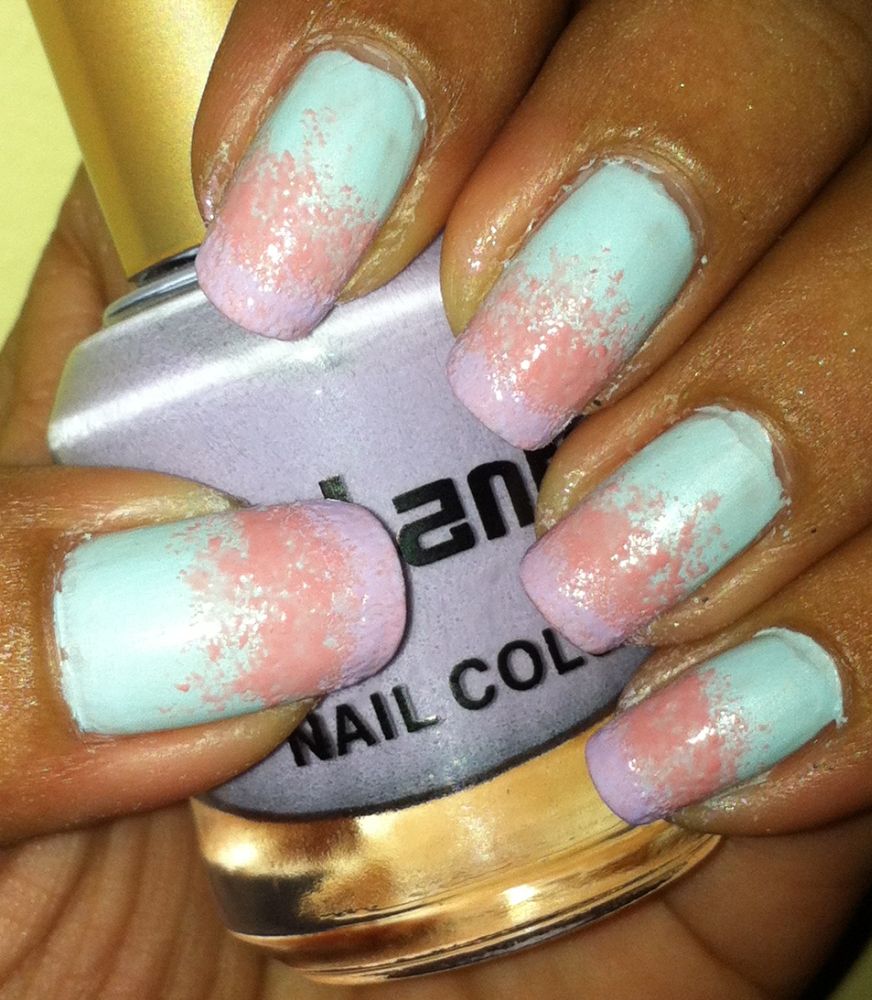
Chevron design nails I finished last night ^_^
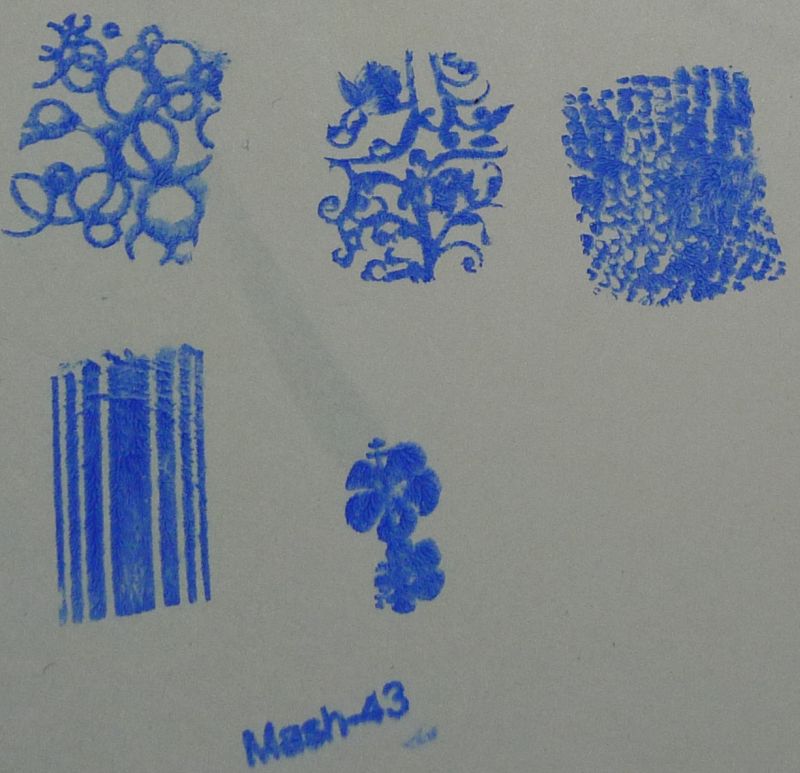
I used BM201 for the chevron design and MASH 30 for the tribal image. I didn't expect that this would turn out pretty damn well, I got some compliments from the sales ladies I encountered at the mall earlier, haha!
Base polish used is Ever Bilena in Lagoon, then added two coats of Caress in Glitter Gold. On my ring finger is the glitter franken that I made.


Okay enough of that let's proceed with the nail polish haul ^_^
My first stop was Etude House because they always have nice colors of nail polishes and I like the formula. The top coat I use is from one of their regular line of polishes which is kinda cheap, really can't afford Seche Vite :P


These are the ones I picked!
L-R: LUCIDarling Fantastic Nails Glitter in turquoise/teal, this kinda reminds me of mermaid scales, in the picture it looks like a dark blue :( stupid camera phone. Next is Etude House Tint Mint, the color is very close to a Tiffany blue color which is a total lemming for me that's why even if this polish cost P178, which is roughly around a little over $4 I still bought it. I love Etude House polish bottles, they're cute and pretty! ^_^


DGR701 Tint Mint, I believe this is supposed to be more green than blue but I prefer that it is more blue than green. I've bought some mint polishes that when I was in the store they looked bluish but when I get home it turned out be real mint colored. So I am really happy that I found this one ^_^


Next stop the department store ^_^
I like buying polishes in the dept. store because I have a lot of choices and some of them are really quite cheap.


L-R: 24K in Sugar Plum, Sweet Cherry in Glitter Gold (I bought two) and Sweet Cherry in Glitter Silver


Glitter Gold is my favorite gold glitter that I've encountered, it's the same glitter that I used on my chevron nails.
It's more like gold dust to me and there are like two sizes of the dust, the larger of the two sizes is minimal so when applied you can see the slight contrast which I very much like ^_^
You can see how much I like it that I bought back up for my back up because I don't want to run out!
The Caress glitter gold is very much the same with the Sweet Cherry brand because they came from the same manufacturing company, Kateenson Industries.
I prefer Sweet Cherry because it's cheaper but I prefer the brush on the Caress bottle so I figured that I could just pour it on the Caress bottle when it's halfway empty ^_^
So yes, I am planning to use this in most of my manis, hahaha!


Sweet Cherry in Glitter Silver
I do have some silver glitter polishes in my stash but this one has fine glitters. Since I am so in love with the gold I figured I should try this one too.


Here's a pic of both polishes side by side, I hope the silver is just as good as the gold in terms of the size of the glitters. ^_^


24K nail polish in Magic Sugar Plum
All of the 'Magic' line of 24K polishes is either duo chrome or multi chrome. This one is multi chrome because on different angles where the light hit I can see blue, green and gold. I'm just not sure that they would be very obvious once it's on the nails though. I'm really not into this kind of effect on polishes but when I asked my boyfriend if it was pretty he said yes, so why not?


The shimmer like quality of this polish remind me of galaxy nails, I wonder when I could try those...


Another angle, I can't make the other colors show up... aarrgghh...


Here's another, I think I was a little lucky with this one. Do you see the gold and bluish lines? Those are the chrome colors. ^_^


Okay obviously this is not a nail polish, I just wanted to share a pic of my new house slippers.
Isn't cute? haha! ^_^


Thanks for hanging out here!

Tuesday, September 25, 2012

Nail art using metallic pens ^_^


Ever since I learned that I can use metallic pens for nail art I couldn't stop using them on my nails and I even got three more colors for variation ^_^. These are the stuff I came up with, I'm so sorry my designs are very mediocre they look like grade school art... hahaha!

Hearts on hearts, this was my left hand...


Wavy lines, since I'm not ambidextrous this was the only thing my left hand can do hihi :)


First time to do dream catcher nails, this looked better up close and personal. I did some writing too, there was a bit of smudging on the 'm' because I accidentally touched it (I was watching a TV show and was immersed in it forgetting that my nails aren't done yet *sigh*).


I love this one! I did some stamping over a coat of gold glitter and small orange flakies (which looked copperish I think). I wasn't planning to use the pens but since the flakies are kinda copperish I tried filling in the gap between the wavy lines with the copper gold pen and I just love how it turned out. This lasted 3 days on my nails which is long for me.


I made this yesterday morning, I did the 'drip' nail art then bordered it with the metallic pens and did some writing as well. This was a bit of a disappointment because bubbles started appearing when my top coat was starting to dry. I took it off after a few hours, I like the design but I couldn't stand the bubbles. Glue base has spoiled me!


These are the metallic pens that I use, the're pretty opaque and my favorite are the silver and copper gold. I guess the only con for me is the 0.7 ball point, 0.5 would have been better. If there was a metallic black or white pen that would be incredibly awesome, too bad they don't make those :(
Thinking of using black sign pens... but I'm afraid that they might be too smudgy... ooohhh I have to go, need to experiment! LOL! ^_^


Thanks for hanging out here!

Monday, September 17, 2012

Using metallic pens for nail art ^_^

Sorry I haven't been posting much on here, I've fixed my phone a few days ago and have been tweaking it since then. I'm just sad that my phone contacts can't be retrieved, it's my own fault anyway for not making contacts back up. Anyway.....

...in the intervals of setting up my phone I found that metallic pens can be used for nail art as well ^_^
Like I've said I'm very bad with free hand nail art, so this discovery has given me a small slice of hope in doing free hand designs.

So here's what I started with...


Two coats of Etude House BL501, it's a creme with a slight sheen to it. It's a bit streaky or maybe I just didn't apply it well enough.


I sponged one coat of Caress in Obsession on half of the nail, it's semi sheer with a thin consistency like most of their polishes.


Then I sponged Pulantn nail color in lilac (it doesn't really have a name, the number of polish under the bottle came off :/) on the tips. After it dried I swiped one coat of clear top coat.


So here it is.... I mainly used a copper gold metallic pen then a metallic blue just to see how it'll look like. I really liked how this turned out, I kinda wanted to call it 'Pastel Autumn' ^_^
I've never experience Autumn because we only have sun and rain here in the Philippines  :(


There's a downside to this though, the pens don't really dry up on my nails even if I wait for more than two minutes. On this nail I accidentally smudged it so I just wiped it off, it left a streak/mark on nail so I just drew on top of it again.

I applied top coat the way I apply top coat on stamped nails. Generously and the brush barely touching the nail so as not to smudge the design. I guess waiting for at least 3 minutes prior to applying top coat would suffice and drying it using a fan won't hurt :)


I then applied two coats of Caress in Tangerine Glitter, which is a nice dark orange glitter. I lurve it!!!


Just another pic of the nails with the glitter, this looked so much better in real life.


Like I said my phone is doing better ^_^

Thanks for hanging out here!

Thursday, September 6, 2012

Mash 43 Image Plate


I always love full nail floral patterns, maybe because they're so easy to use haha :)
Circle bubbles sooo cute, I wish I had pastels that are opaque enough for this.
The stripes reminds me of bar codes, it might work ;)
Oooh reptile pattern again, maybe I could do pastels with this too. Sorry I'm still into pastels til now.
Hibiscus are always pretty, maybe next summer.


Rating: ♥♥♥♥♥

Recent nail art and glue review ^_^

I know I haven't posted for some time now. I've been so busy and I'm having some technical problems with my phone for days already. I still haven't fixed it yet, I'm still going to need to observe it. My phone is the main camera that I use to take pics so I would be heart broken if I can't fix it. I can't afford to buy a new one :(

For the mean time I'm just going to share a couple of my recent mani ^_^


I really love how this turned out. I've been seeing some nail art with gradients on top of their stamped nails. This is my first try, I used a metallic silver on my tips then applied a fine glitter gold polish which I recently bought and love, now I wish I bought two bottles of it because it was so cheap anyway. Ugh!


Okay, this one is still on my fingers right now :)
I made this yesterday and I was able to take a pic of this earlier before my phone started to act crazy again.
I used two metallic polishes, first is the pink base then sponged in the blue. Then I placed one coat of the fine gold glitter again then added a second coat but only on the tips. As you can see all the images I stamped are birds. They came from different plates which I forgot to take note of *toink*
It seems to me the blue metallic polish is too sheer to show up, I didn't want to apply too many coats because the pink base is already 3 coats.


I've been using the glue base method ever since I posted it on here. I have changed to using Elmer's School Glue now instead of the LEEHO gel glue.
There are some pros and cons though....

Elmer's School Glue
Drying time is fast, less than a minute if you dry in front of an electric fan.
Matte like finish when it's dry so you know when to start putting on the second coat and nail polish.
Glue dries thin and smooth.
Peels off faster than the gel glue, you need to seal the tips with polish.
I've noticed my nail polish don't bubble even if I layer polishes. This has been a huge problem for me with my polishes even if I've waited for my polish to dry in between coats.
I will have test this more though, I have a few thick polishes on my stash that I doesn't get any action because of this problem.

LEEHO Gel School Glue
Drying time takes a while around 3 minutes or so.
Hard to see if it's dry so you will need to feel it up a bit.
Dries thick, I can actually see an added thickness when I apply my polish.
Sometimes glue doesn't dry smooth, maybe it's the nail polish brush or what not but sometimes I feel stubbles. I'm thinking that maybe the glue is too thick.
Manis lasts longer, doesn't peel off unless you peel it off still be careful not to nick the edge.
My nail polish sometimes get bubbles specially the first layer of polish, but once I start layering the second coat bubbles aren't very apparent.


Both are affordable and non-toxic.
I still prefer the Elmer's one because it dries quicker, smooth and my polish doesn't bubble.
My mani may not last long but one of the reasons I chose to use this method is because I like to change my mani quite often and clean up is just too easy ^_^
I need to look for a nail moisturizer that doesn't leave an oily/greasy residue before applying the glue, does that even exist? Hahaha ^_^


Thanks for hanging out here, I hope I'll be able to find a permanent fix for my phone. :)